Making of Sunflower Soap
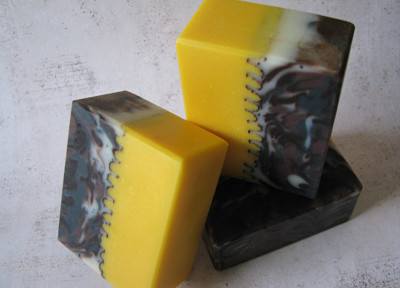
I was so excited to be among several recipients of the new Spring Fever Fragrance Collection* from Bramble Berry!

I started by making some embeds scented with the Blueberry Jam fragrance, which is absolutely heavenly!! It is by far the best blueberry fragrance I’ve ever used, and smells fantastic in the soap as well.
Then I decided to make a soap scented with the Sunflower fragrance. The notes on this fragrance say that there could be some mild acceleration and discoloration to a light tan, so keeping this in mind, I decided to do a layered soap and create a golden yellow lower half to mimic the petals of the sunflower (the state flower of Kansas where I’m from, by the way!), and mix up browns and black as well as some uncolored soap to mimic the deep brown center of the flower.
I was thinking that a nice, dark brown line between the layers would set them off nicely, so I decided to use cocoa powder for this. The golden yellow is a mix of two teaspoons of Yellow Lip Safe Mica and a half teaspoon of Racing Stripe Orange Mica from Bramble Berry with some olive oil. I used cocoa powder mixed with olive oil for the two different browns, and activated charcoal mixed with olive oil for the black.
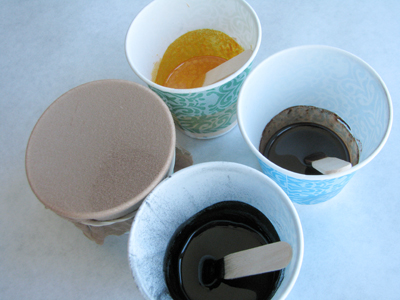
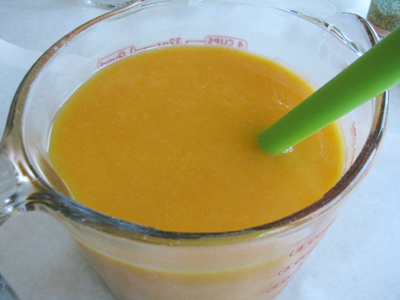
I mixed the oils and lye solution when they were around 85 degrees – a little cooler than my usual 90 degrees. I used my regular recipe for the oils (48 total ounces of oils) and kept the lye solution at 2:1 water to lye. I used the stick blender just until I felt the soap batter was emulsified, then poured off half and colored it with most of the golden yellow mica mix and added half of the fragrance. I actually needed to stick blend it a bit longer to get it to set up enough to hold the other half of the soap and be able to create a texture between the layers.
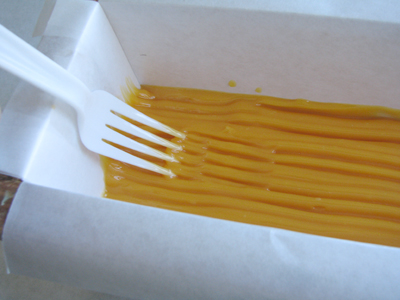
I had an idea to use a plastic fork to create some texture:
Then I started sprinkling the cocoa powder over the top of the soap. Only, the cocoa powder was too caked up and didn’t really want to come through the nylon cover. This method works great with tiny particles of dry mica; however, it wasn’t so successful with the cocoa powder. Increasing the force of the shaking of my cocoa powder cup only managed to loosen the nylon cover and I ended up dumping a fair amount of cocoa powder in one section of the soap!
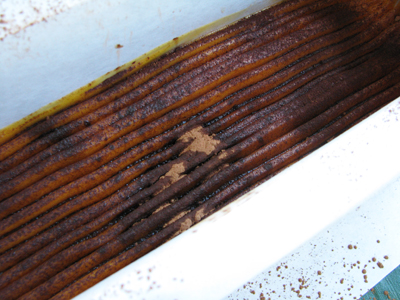
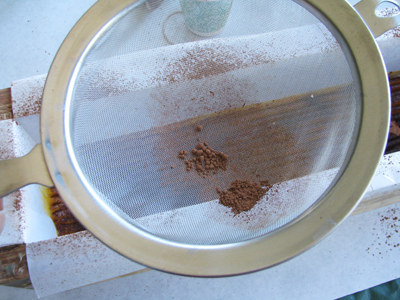
I realized a better method of dispersing the cocoa powder was to use a micro-sieve, tapping it over the top of the soap:
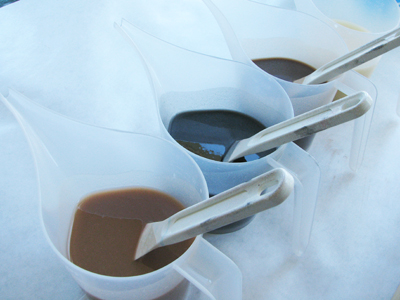
After this, I divided the rest of the soap batter into four equal parts and colored them with the activated charcoal and cocoa powder, leaving one cup uncolored but adding 2 teaspoons of poppy seeds for a bit of texture, then adding the remaining fragrance, divided into each of the four cups:
My original idea was to swirl these together in one pot and then pour, but the soap was still really runny at this point, so I started by pouring a thin layer of the uncolored soap to offset the dark cocoa powder line:
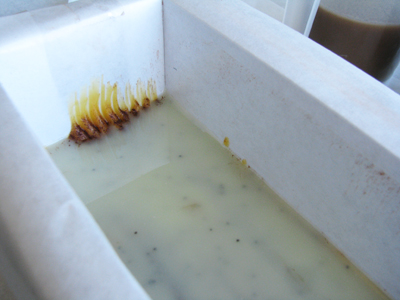
Then I just started pouring thin drop swirls of each color in circular motions until all the soap was in the mold:
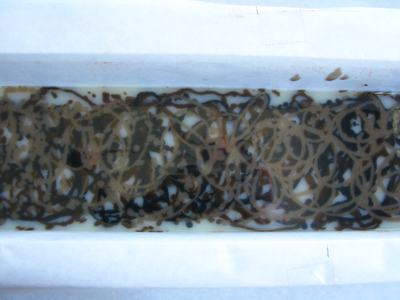
Finally, I used a skewer to swirl the top in two different sections:
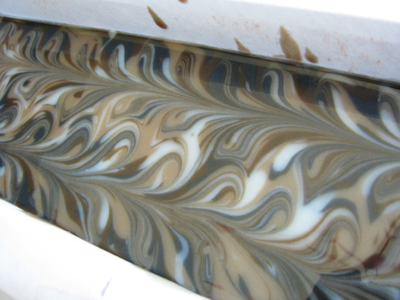
Even using rubbing alcohol spray on top of the soap, it developed some really bad ash. You can see the comparison between the ashy soap and the one I planed:
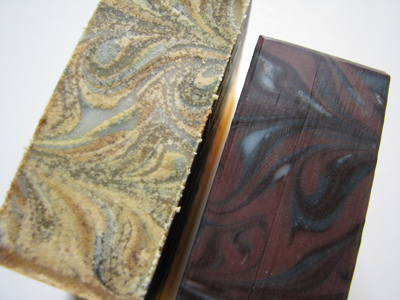
There were only two bars of soap that were adversely affected by the cocoa powder dump. I will cut them up into smaller pieces to be used as samples:
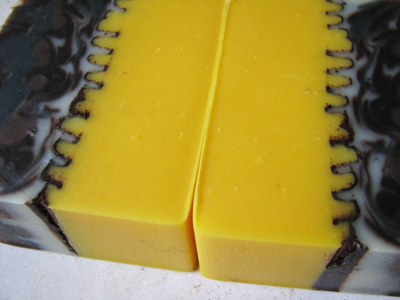
The rest of the soaps turned out beautifully! Here are some that have been all cleaned up:
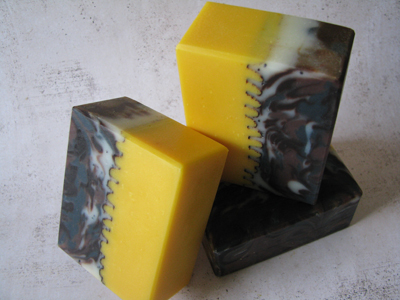
I will plan to have these available for purchase at Greatcakessoapworks.com on May 6.
*All links to Bramble Berry products are affiliate links which simply means a small portion of your purchase comes back to me at no added cost to you.
Page with Comments
Comments are closed.
Oh my goodness, that turned out so beautiful. I love what you did to take care of the heavy ash. I have had that happen to some of my soaps as well.
May I ask how you ‘clean up’ your cut bars? My gosh – they are really smooth and lovely.
Thanks so much – love your soap creations, your generous spirit to share – I have learned so much from you!
Thank you, Marianne! I use the planer/beveler I received from Alex Kelly of Custom Soap Stamps. It’s made of acrylic so it’s super easy to clean, and it only shaves off 1/32 of an inch at a time so you don’t waste a lot of soap. https://www.etsy.com/listing/272556076/blade-less-acrylic-soap-2-in-1-planer
Do you have any idea why soaps cause soda ash even when you spray them really well? (I do the every 30 minutes for 90 minutes with 99% alcohol.) That trick usually works, but sometimes I have to plane them, too!
I don’t get it! Any ideas?
I’ve seen certain fragrances ash more than others…I’ve even seen certain micas ash more than others. Certain fixed oils in the recipe will cause more ash than others. I think I read something about more water in the recipe can cause more ash as well. I haven’t been able to nail it down exactly, just learned to live with it!
Ok, even the “ruined” ones turned out amazing!!!! you are amazing! What a great idea and what a great imagination to come up with this. Beautiful!
Thanks so much, Andrea!! 🙂
This is so cool. Thank you for sharing this. Definitely will try this. I’ve always been to doing my own DIY soaps. Thanks for sharing this.
I’m Brazilian and I love working with handmade soaps, thank you for all knowledge